May 1, 2026
4
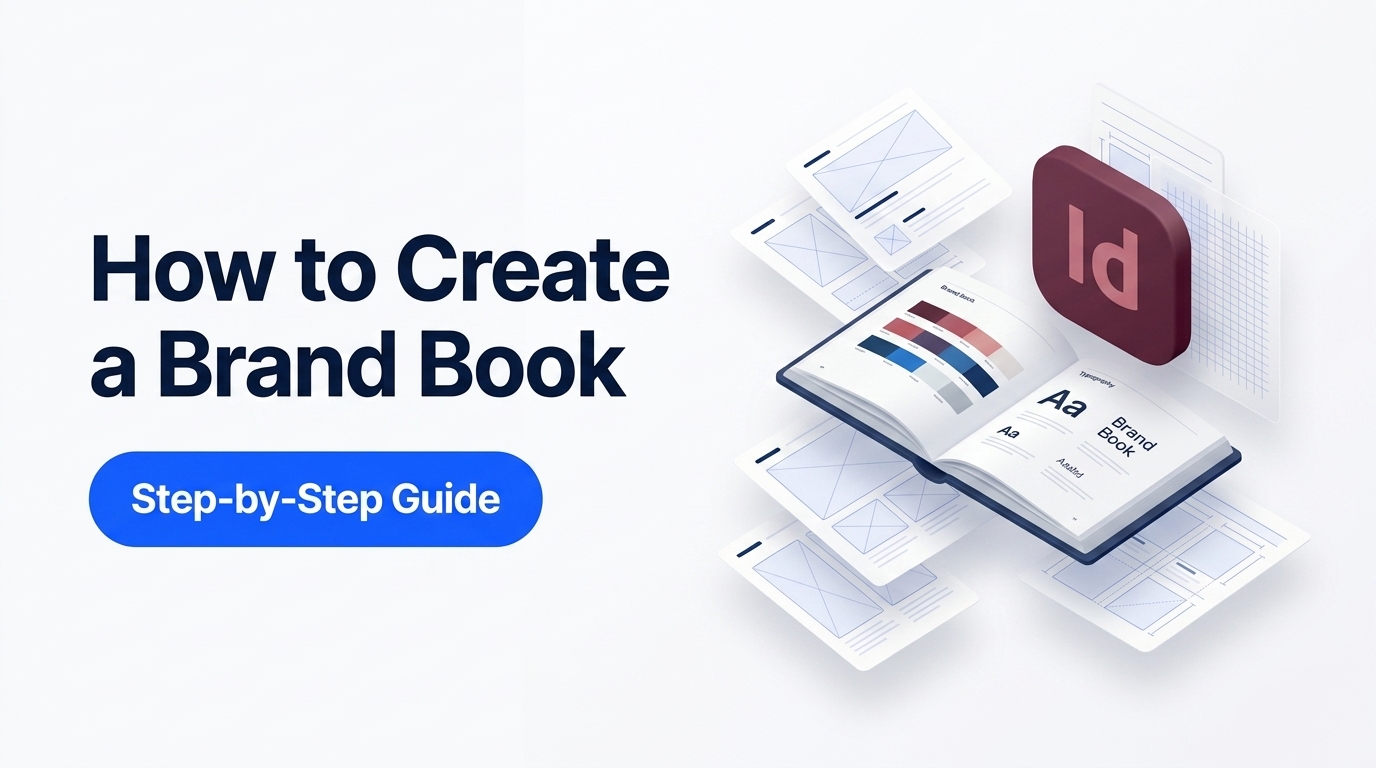
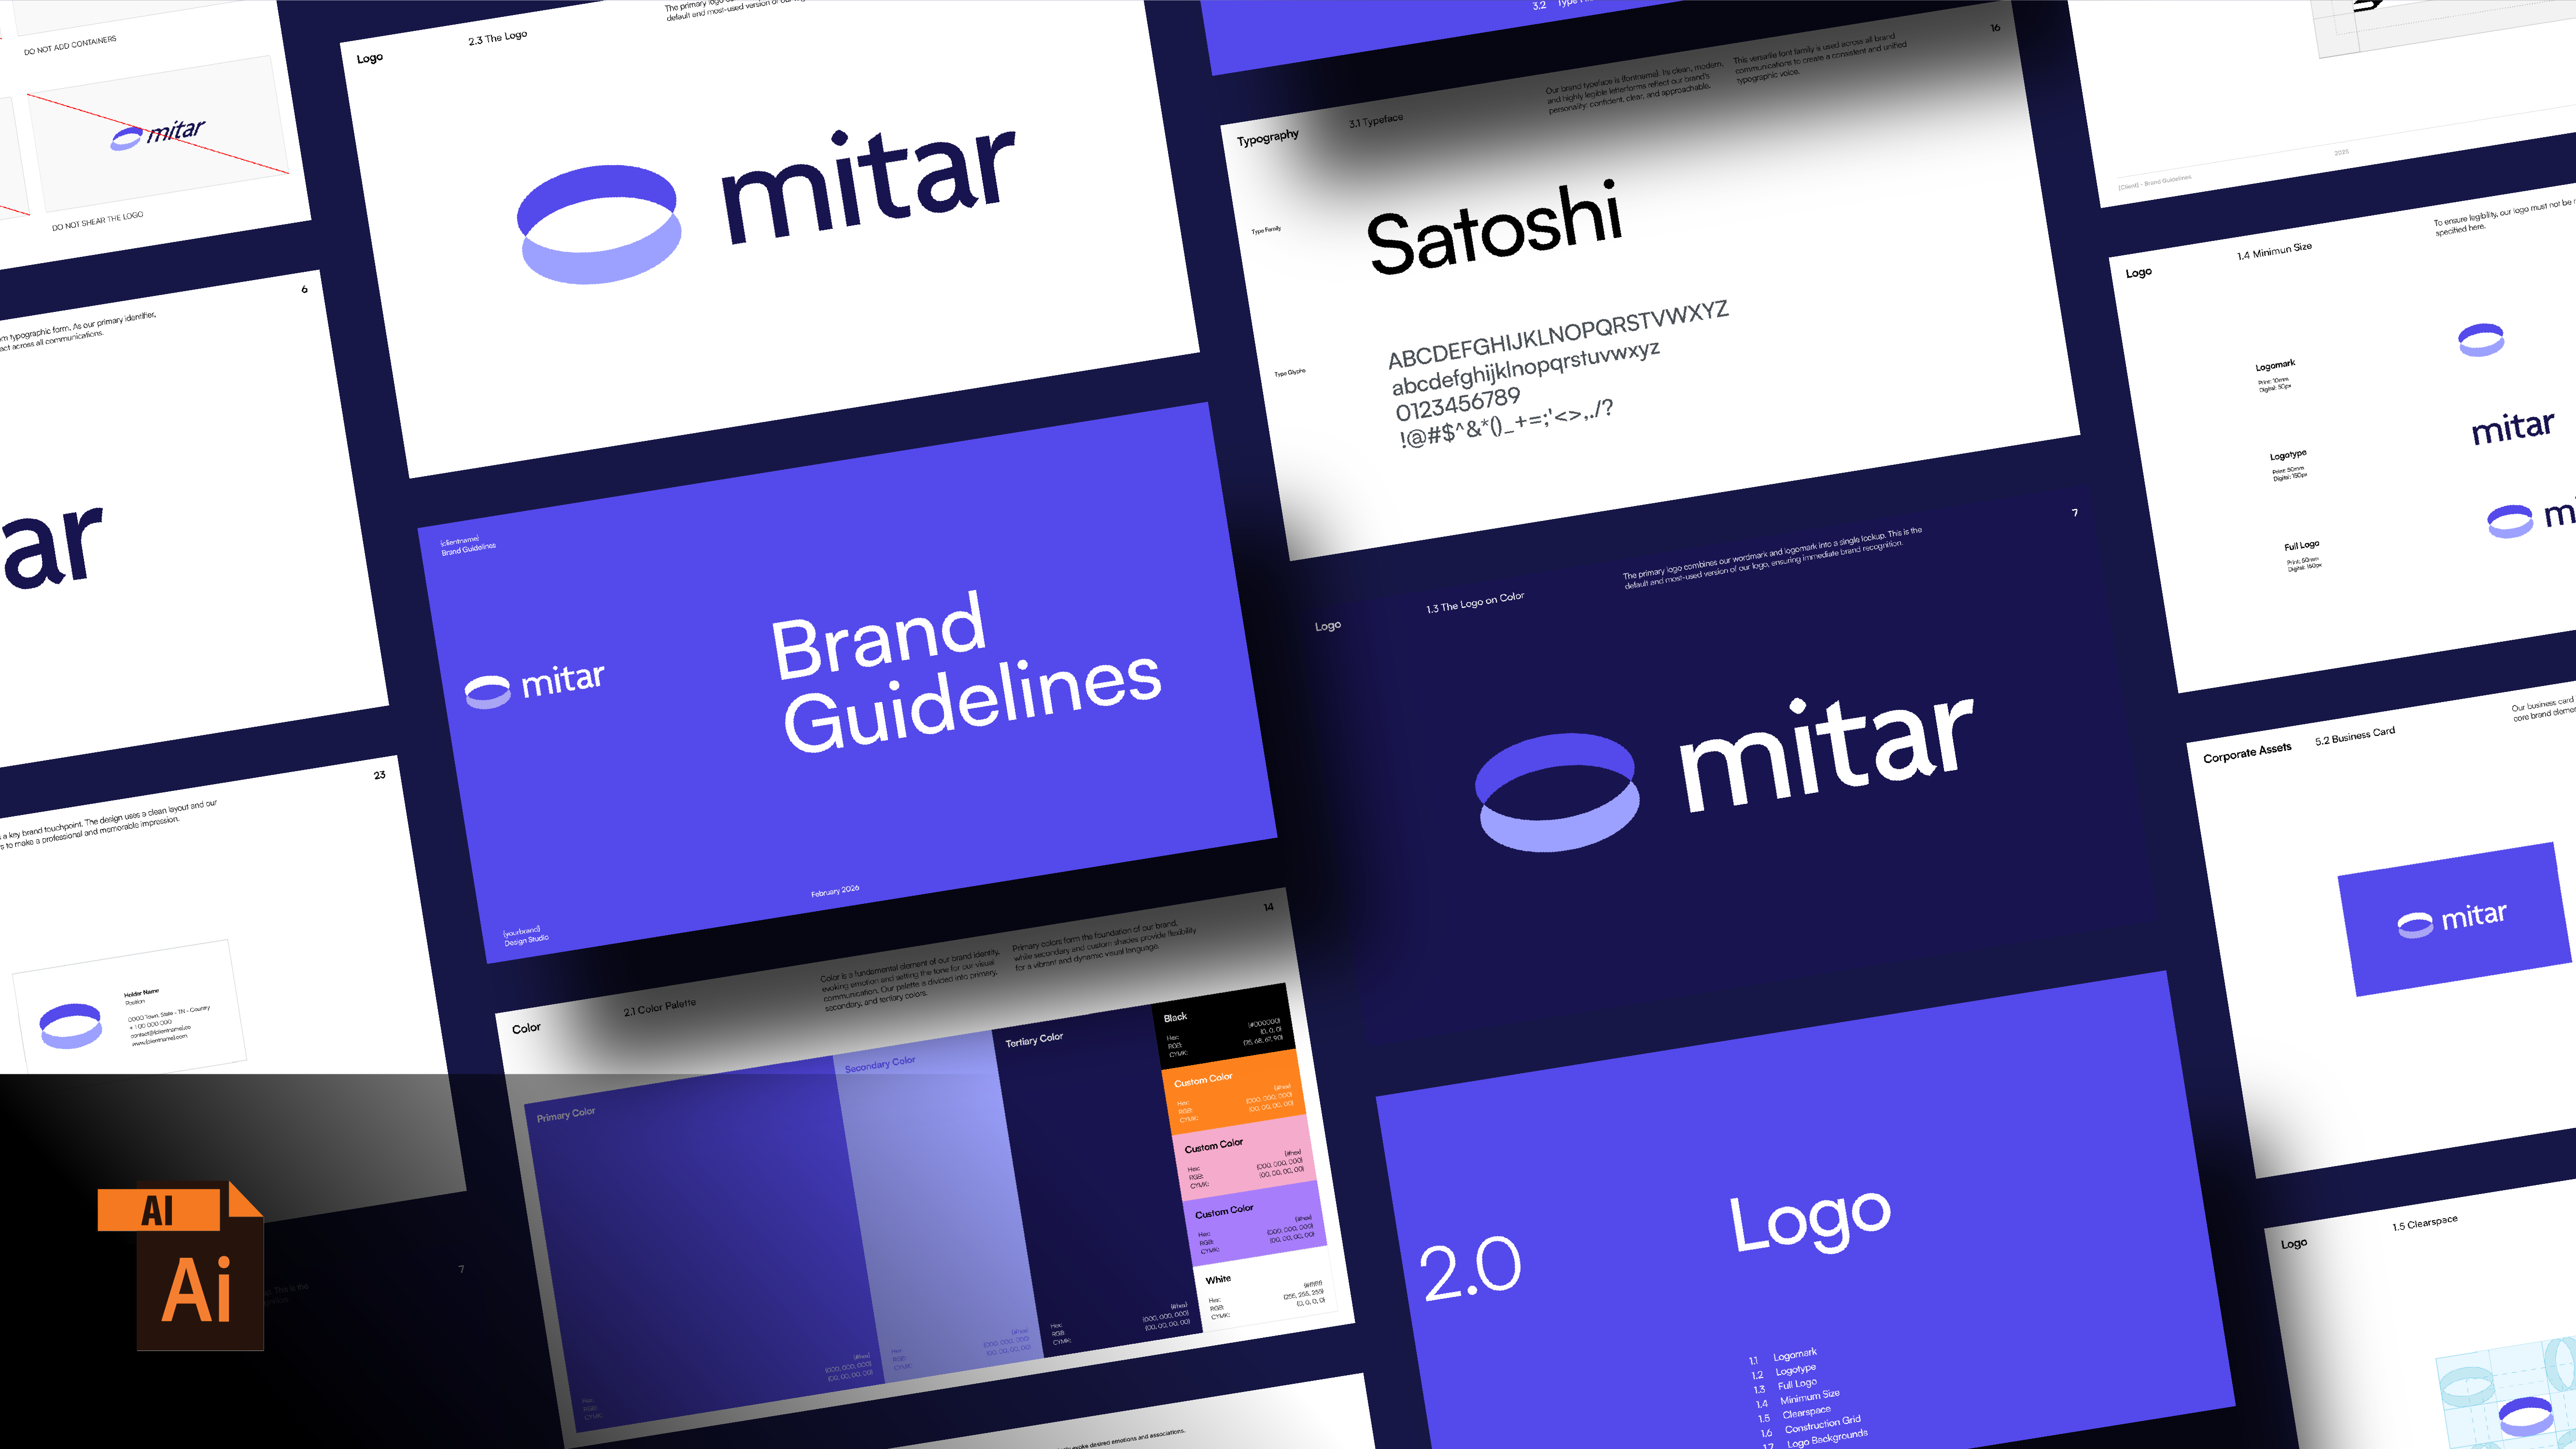
How to Create a Brand Book in Adobe Illustrator (Step-by-Step Guide)

How to Create a Brand Book in Adobe Illustrator (Step-by-Step Guide)
Creating a brand identity is the fun part.
But turning a completed logo and brand identiy system, into a well structured and document guidelines, is one of the most challenging parts of the project.
It can feel slow, tedious, and unclear especially when you’re trying to figure out layout, structure, and consistency all at the same time.
In this guide, you’ll learn a easy, repeatable process to create a simple, professional brand book in Adobe Illustrator.
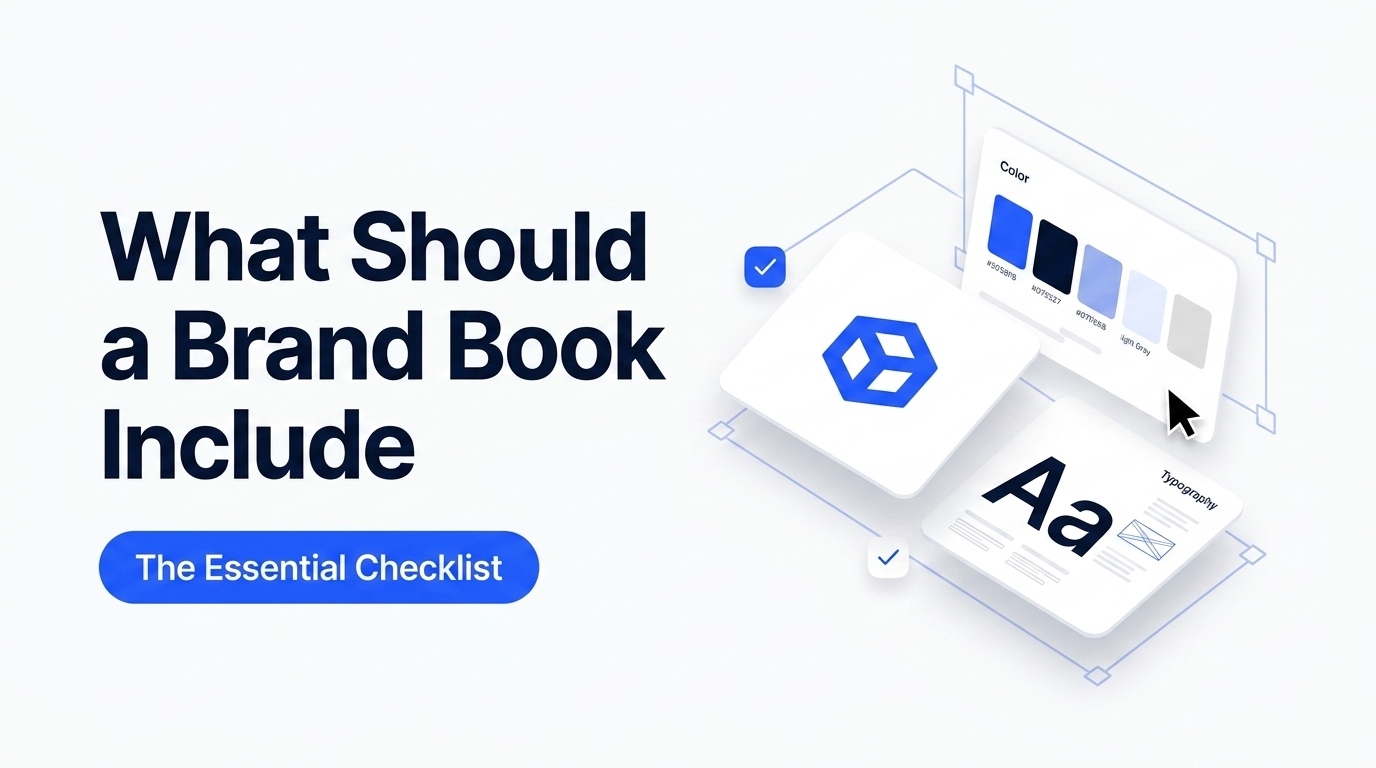
Brand Book vs Brand Guidelines
Before we begin, it’s worth clarifying one thing.
The terms brand book and brand guidelines are practically the same: A complete document that explains how a brand should look, feel, and communicate.
So whether a client asks for a brand book or brand guidelines, the expectation is the same: a clear, structured document that protects the brand’s consistency
Related reading: Discover further about what a brand book is, and why it matters.
Step-by-Step: How to Create a Brand Book in Illustrator
Let’s break down the exact workflow you can follow for every project.
Creative Note: You can gain inspiration before you begin, by checking out the best brand book examples here
Step 1: Set Up Your Document

First, start by creating a new document in Adobe Illustrator.
A recommended size is 1920 x 1080 pixels (16:9).
This format works well because:
- It’s best for screen presentation
- Easy to scroll through as a PDF
- Feels modern compared to traditional A4 layouts
Vertical formats are usually best for 1 page brand guidelines, where as horizontal is the standard size for a brand book.
Step 2: Create a Master Margin
Consistency in spacing is what separates a clean document from a messy one.
Instead of placing guides manually on every page, create a master margin system.
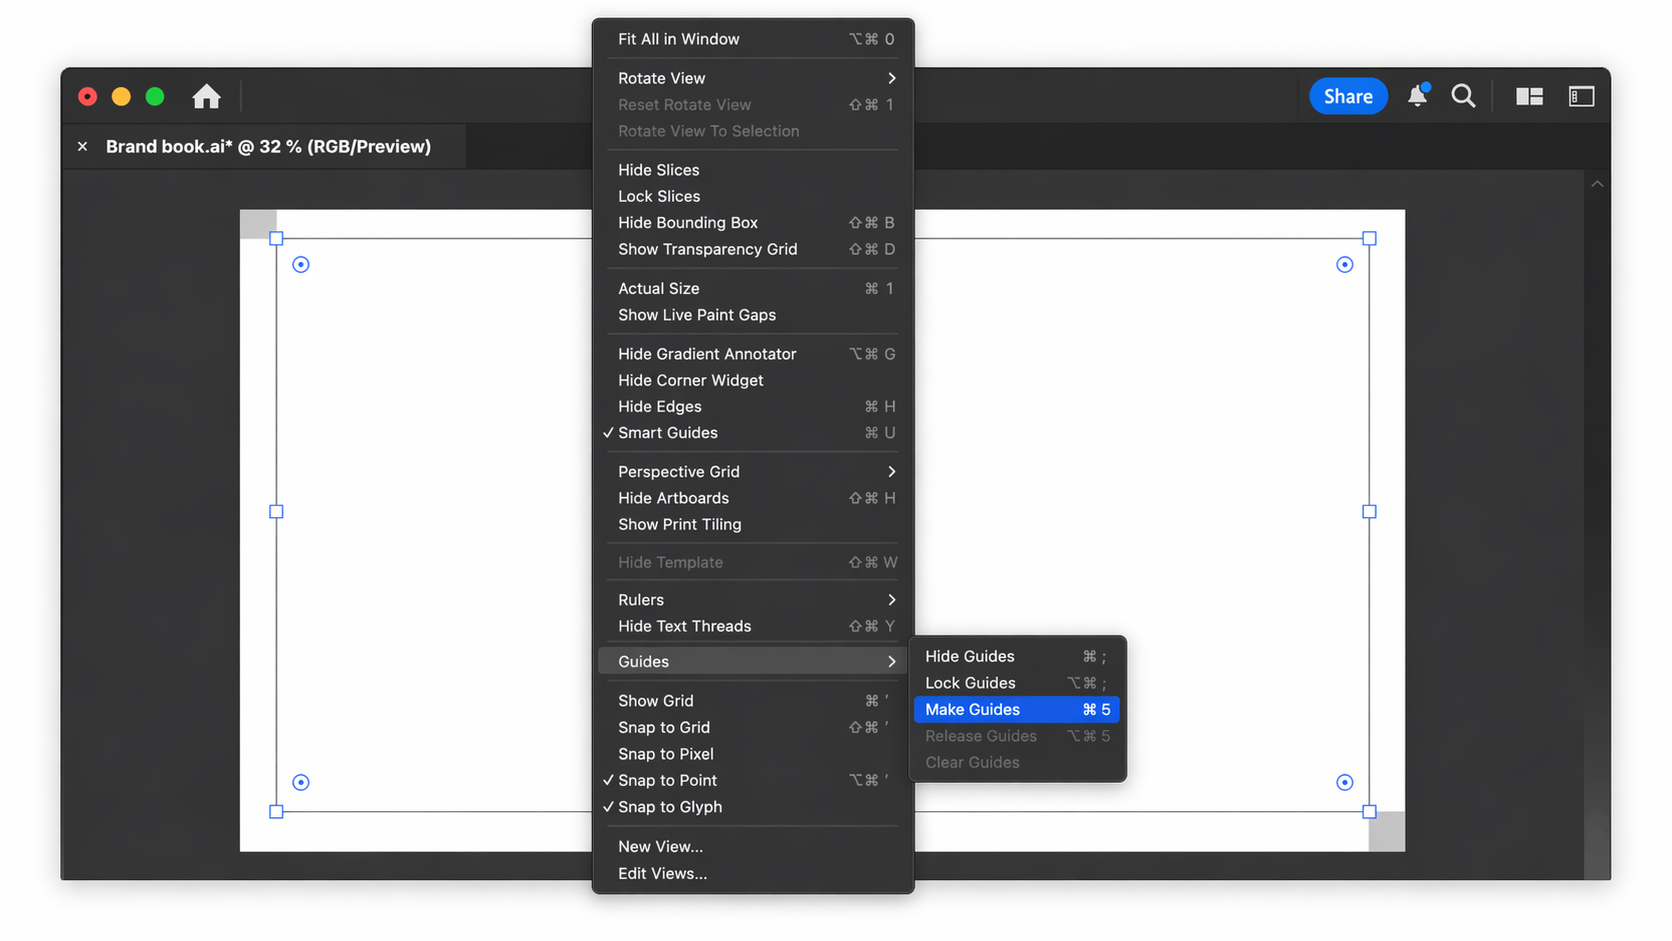
A simple method:
- Place small spacing blocks in each corner of the artboard
- Build a rectangle inside those boundaries
- Convert that rectangle into guides
This provides you with a layout structure that every page will follow.
Step 3: Define Your Typography System
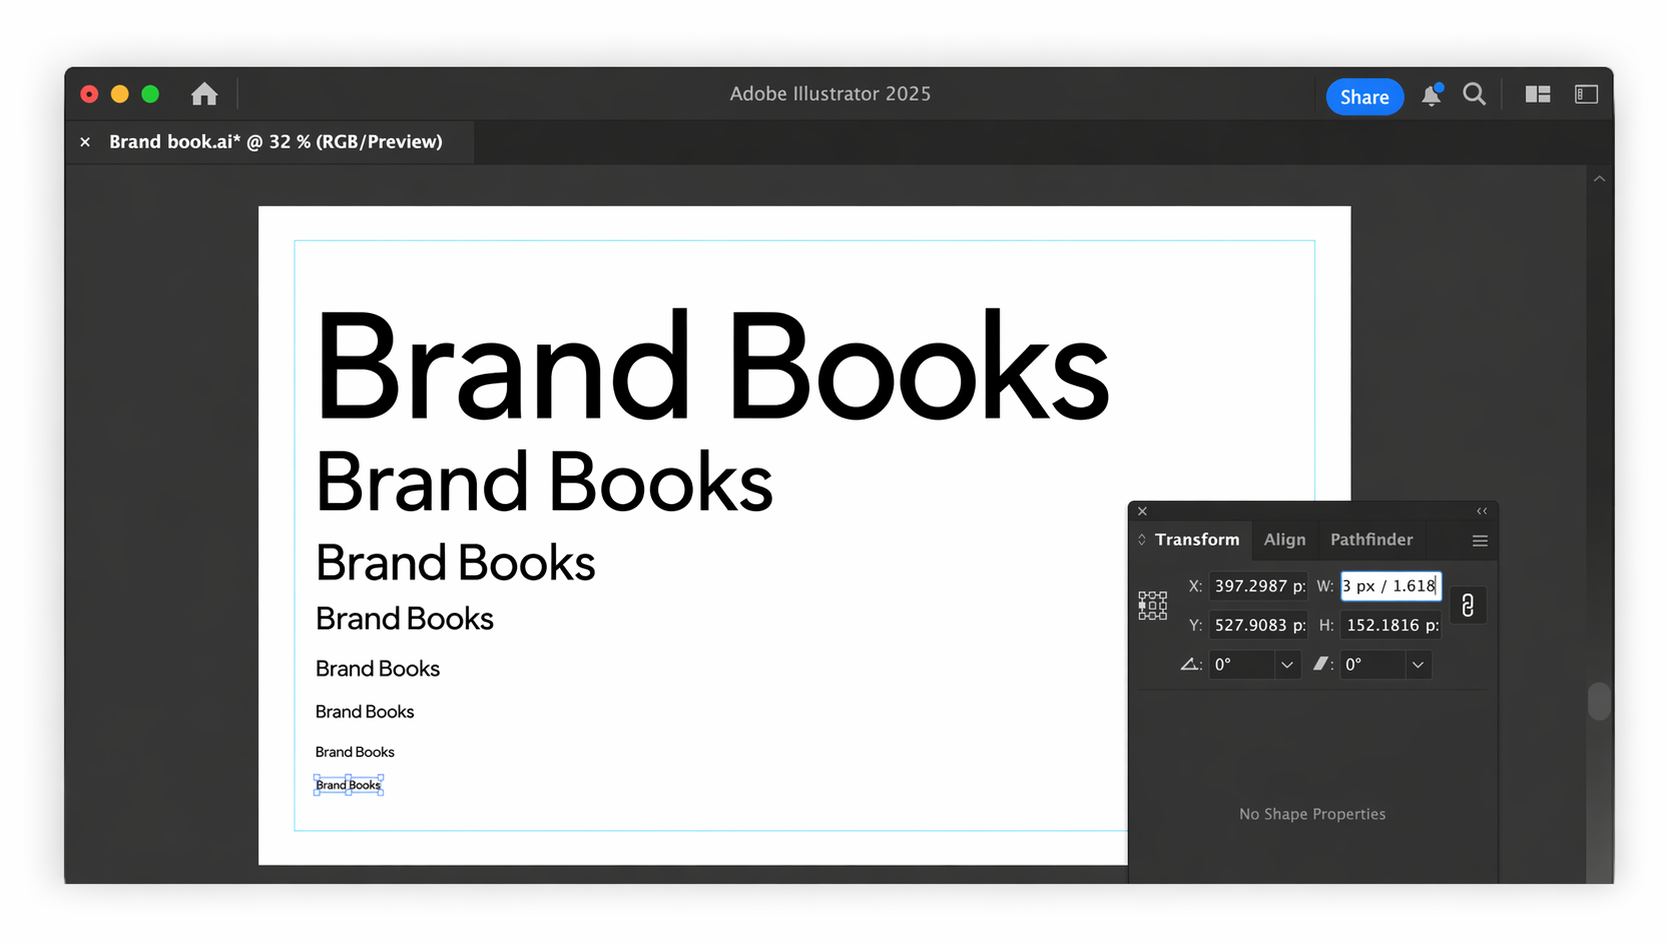
Define your text hierarchy, before designing pages.
A simple system includes:
- Header
- Subheader
- Body text
- Small text
- Footer text
To keep everything balanced, you can use a ratio system (like the golden ratio) to scale sizes consistently.
This step is important because:
- It speeds up layout decisions
- Keeps every page visually consistent
- Avoids random font sizing
Step 4: Create Parent Page Layouts
Instead of designing every page from scratch, create a few core layouts first.
Think of these as reusable templates for your document.
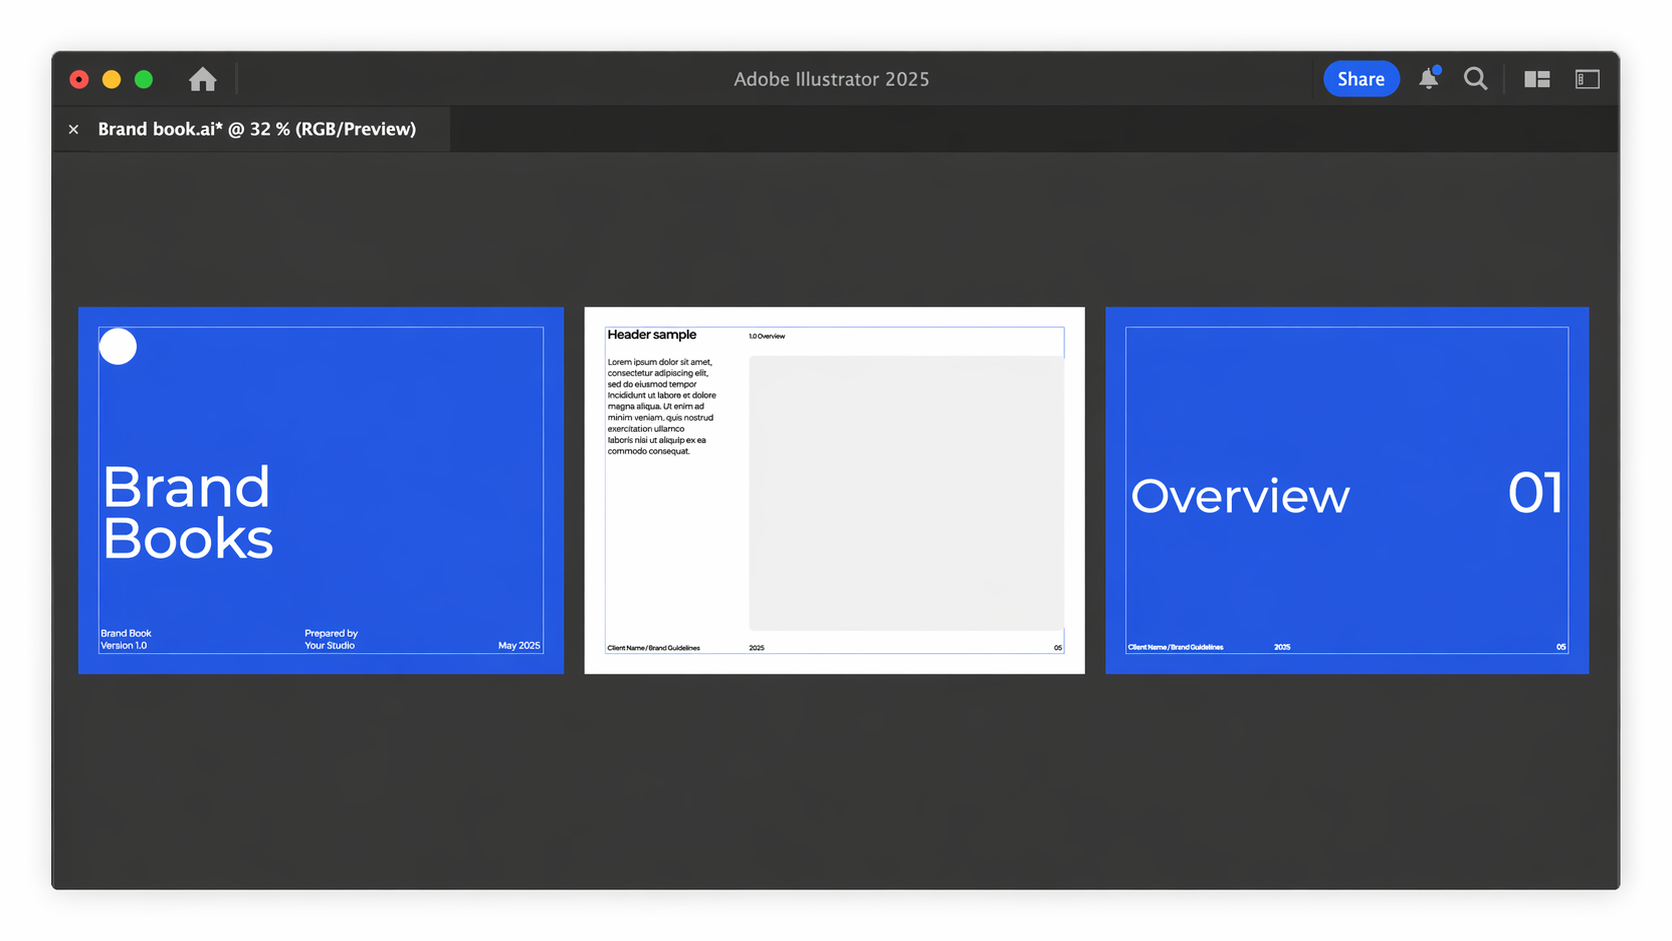
You only need three:
1. Front Cover Page
The opening page of the entire document.
2. Section Pages
A general page used accross all sections which will contain text and images.
Where all the detailed information lives.
Once these are designed, you can duplicate them to build your full brand book.
This saves a huge amount of time and keeps everything consistent.
3. Content Cover Pages
Used to introduce sections like Logo, Colors, Typography. Should be similar but not identical to the 'Front Cover'.
Step 5: Build Your Pages Using the Right Structure
Now you can start building out the full document.
At this stage, the most important thing is knowing what sections to include.
There are 6 essential elements that should go into every professional brand book. These elements determine how many pages you need and how your document is structured.
Rather than guessing, you should follow a clear framework.
👉 Read this blog to learn exactly what to include in your brand book
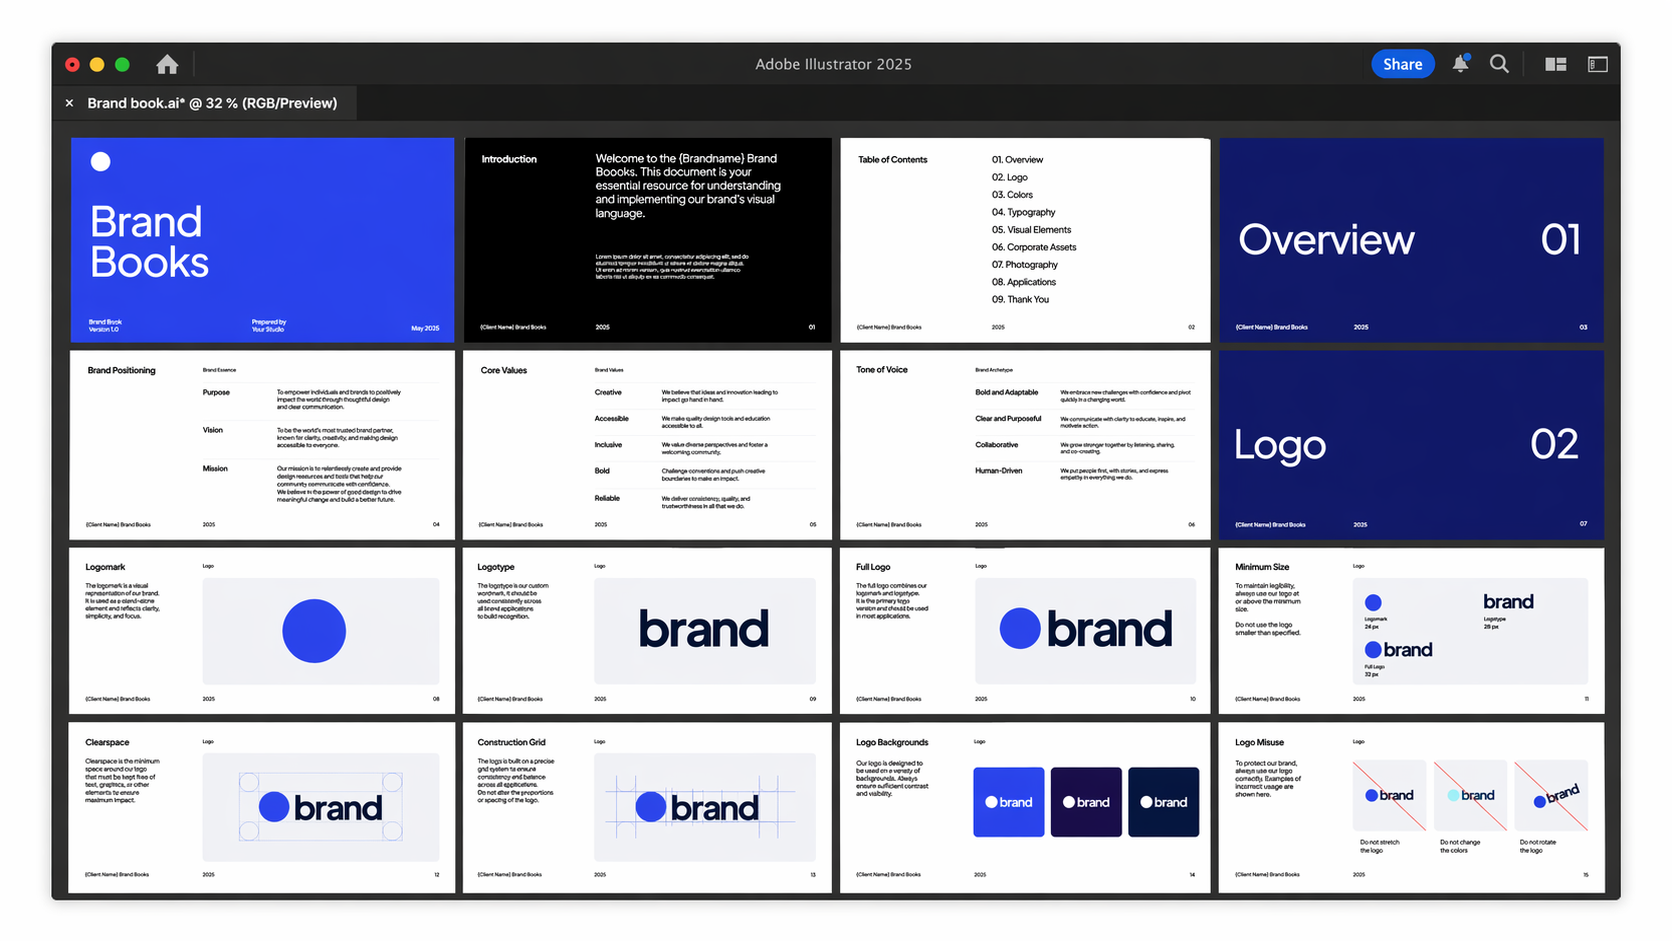
Once you know the structure, simply duplicate your parent pages and start adding your content:
- Logos
- Colors
- Typography
- Messaging
- Applications
Because your layout is already set up, this part becomes much faster and more organised.
Want to create brand books faster?
Creating a brand book from scratch is certainly a great skill to have.
But in reality, most of the time is spent on layout, and not design.
If you want to skip the setup process, you can start with a pre-built brand book template instead.
This allows you to:
- Avoid building layouts from scratch
- Focus on the brand itself
- Deliver faster to clients
You simply replace the content with your own work.
👉 Download our free brand book / brand guidelines template