May 16, 2026
8
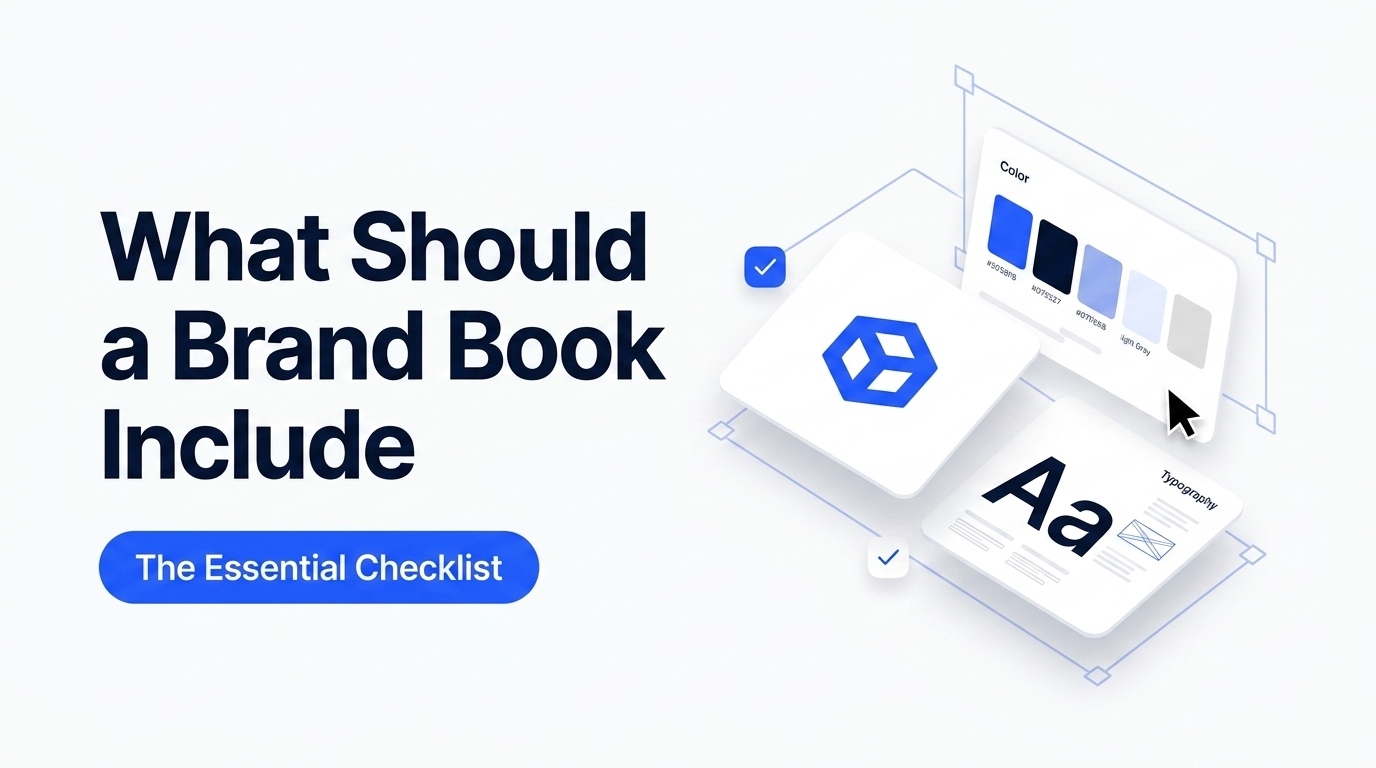
How to Create a Brand Book in Adobe InDesign (Step-by-Step Guide)
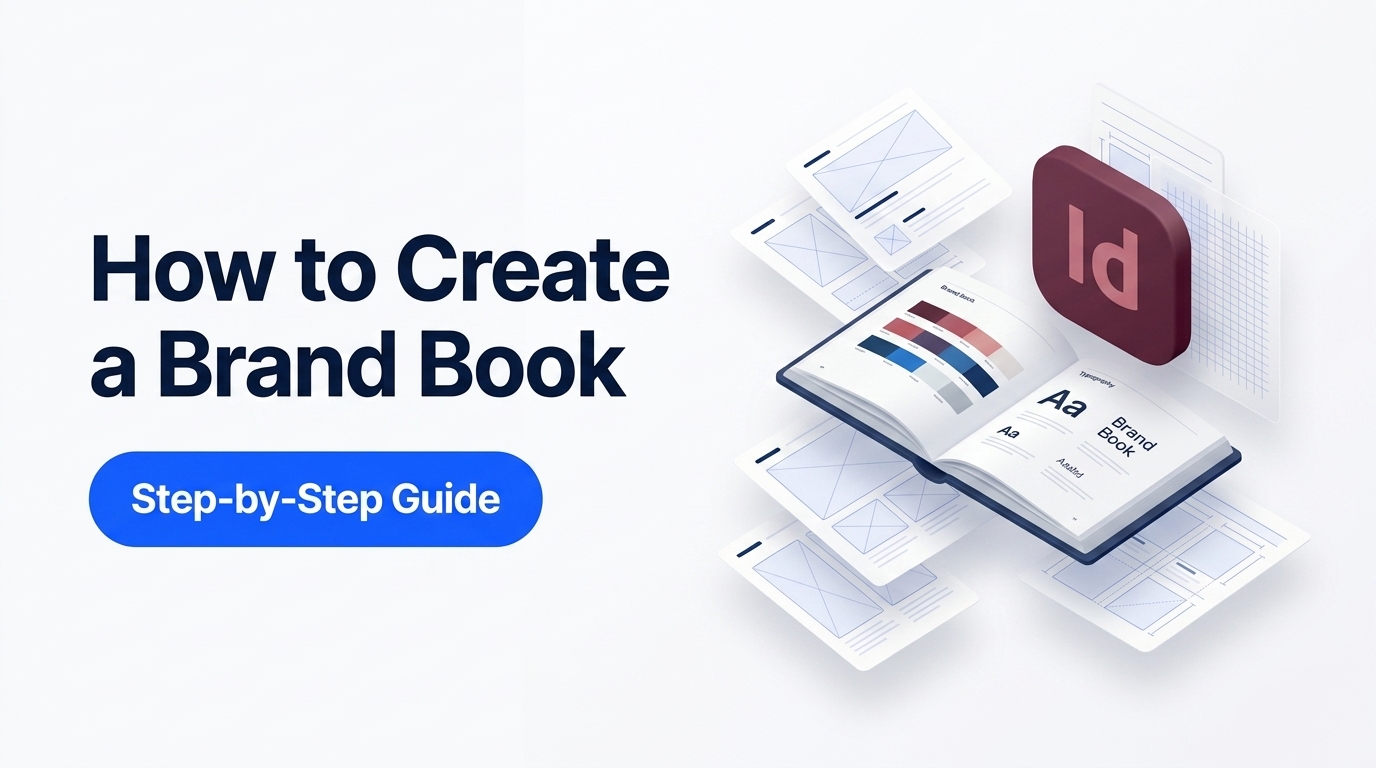
Everything you need to set up, design, and export a brand book in InDesign
InDesign is the standard tool for multi-page brand documents. It handles long documents cleanly, gives you precise control over typography and layout, and exports press-ready PDFs without issues.
This guide walks through the full process, from setting up the document to exporting the final file for a client.
Related Reading: If you want to understand what sections a brand book should contain before you start designing, read what should a brand book include.
Step 1: Set up your document
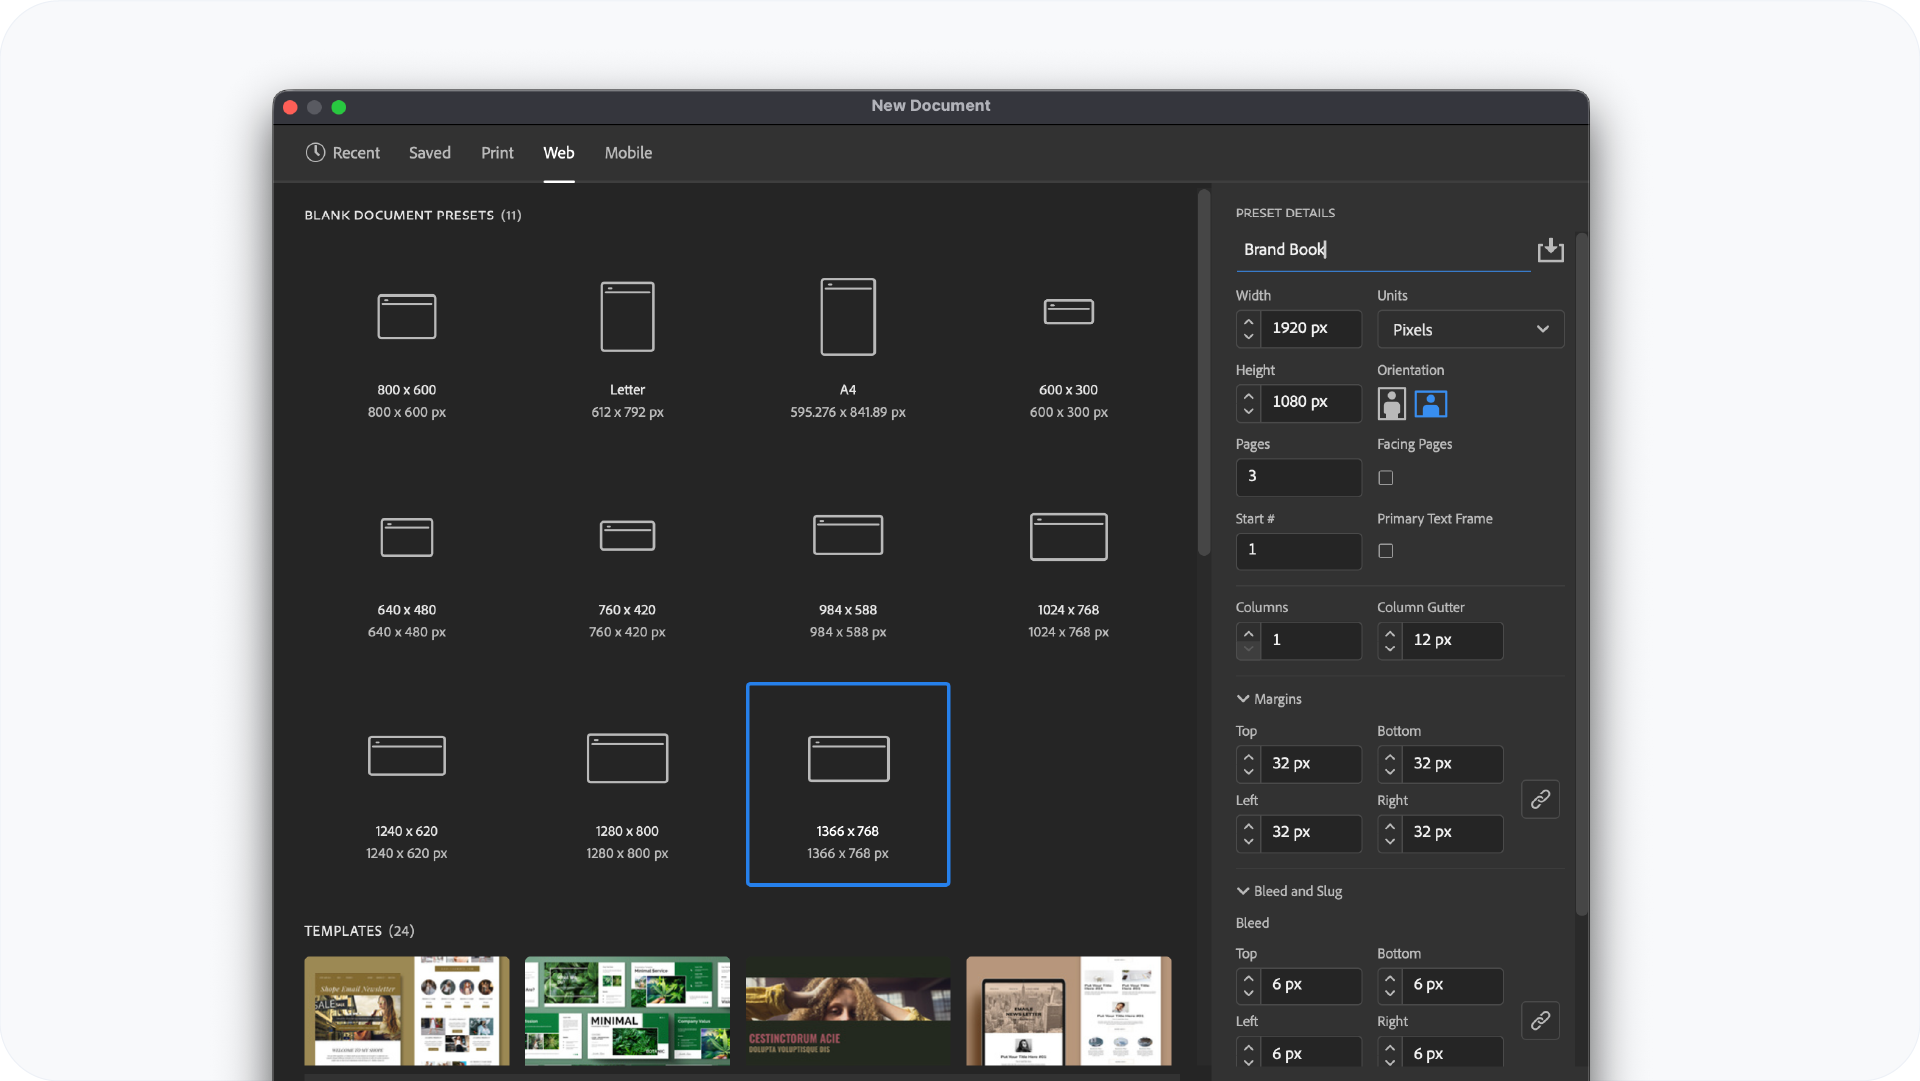
Open InDesign and go to File > New > Document.
Use these settings for a standard brand book:
- Intent: Print (even if delivering digitally, as this gives you the correct colour settings)
- Page Size: 1920 x 1080 pixels (16:9).
- Orientation: Landscape. Brand books read better horizontally, giving you more room for side-by-side layout
- Pages: Start with 10 to 12 and add more as you build
- Facing Pages: Off. Brand books are typically delivered as single pages, not spreads
- Margins: 32px top and bottom, 30px left and right
- Bleed: 6px on all sides
Click OK to create the document.
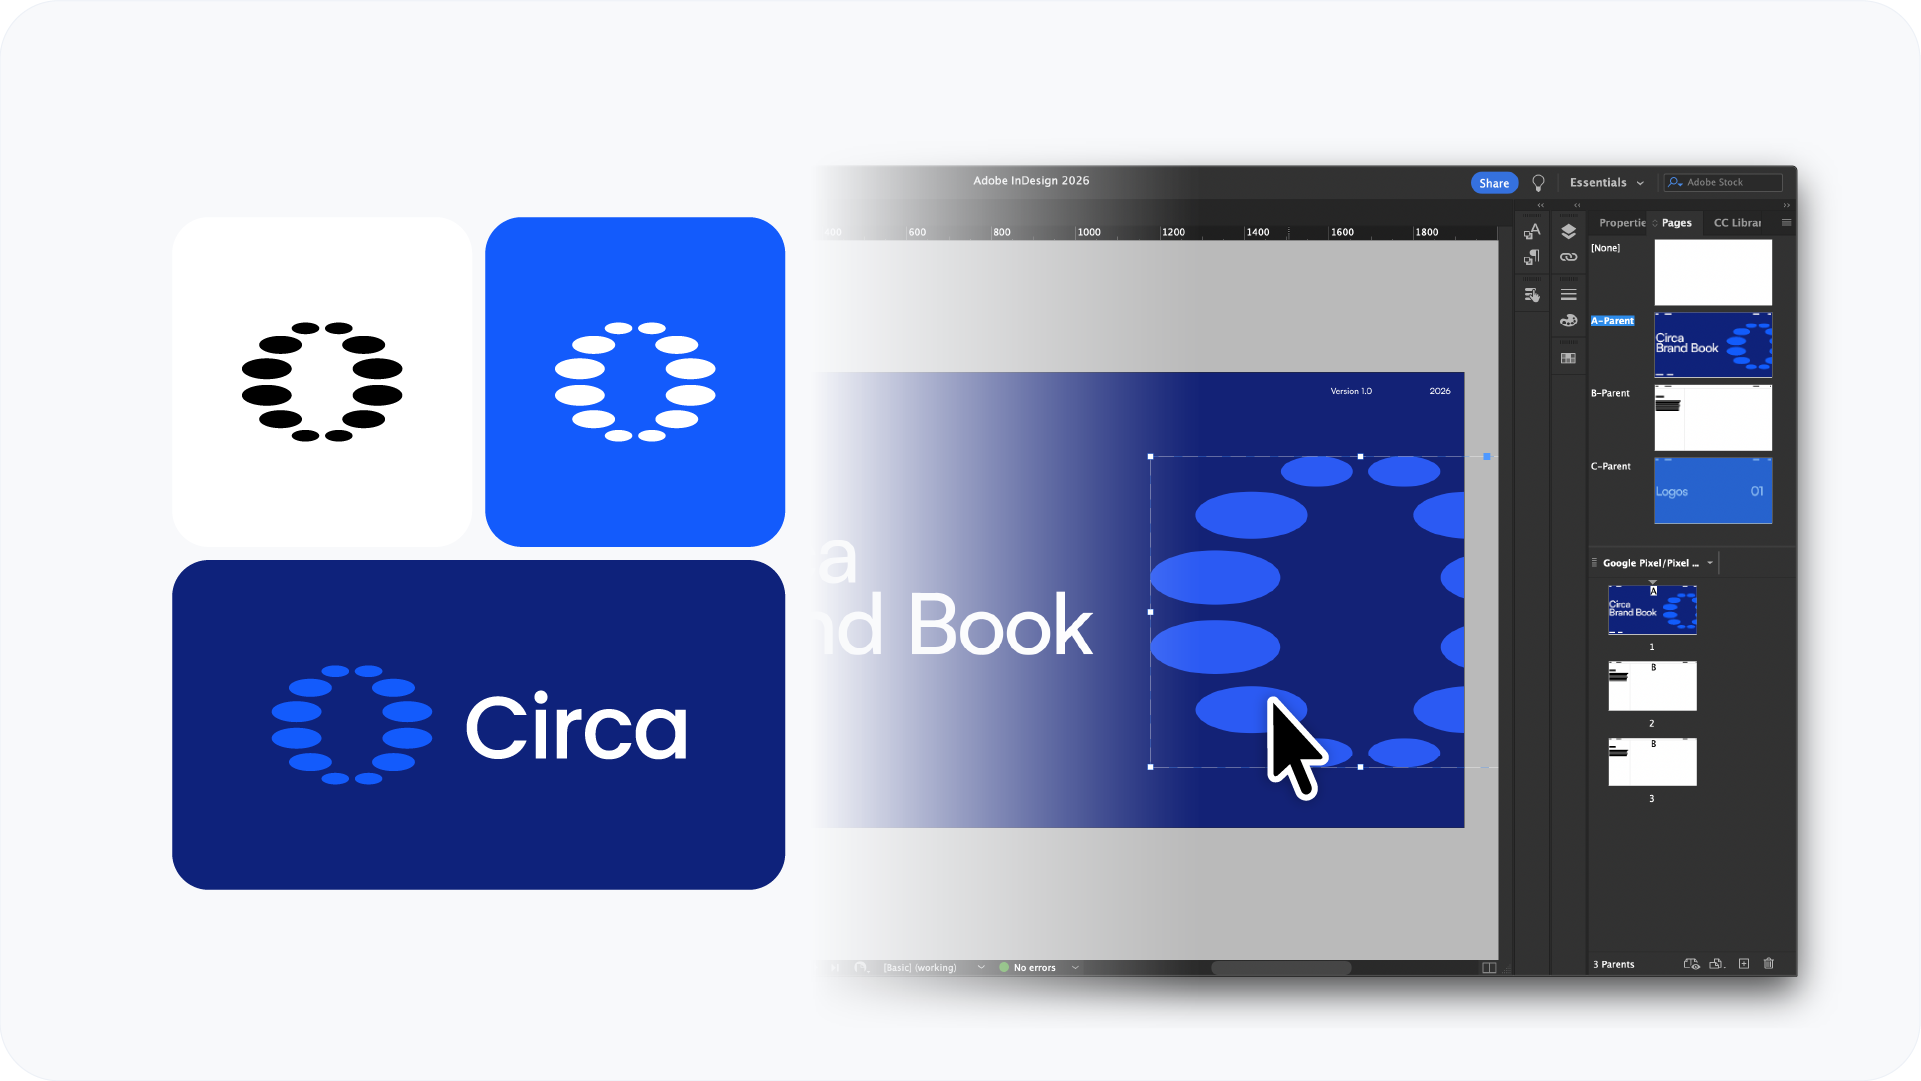
Step 2: Set up master pages
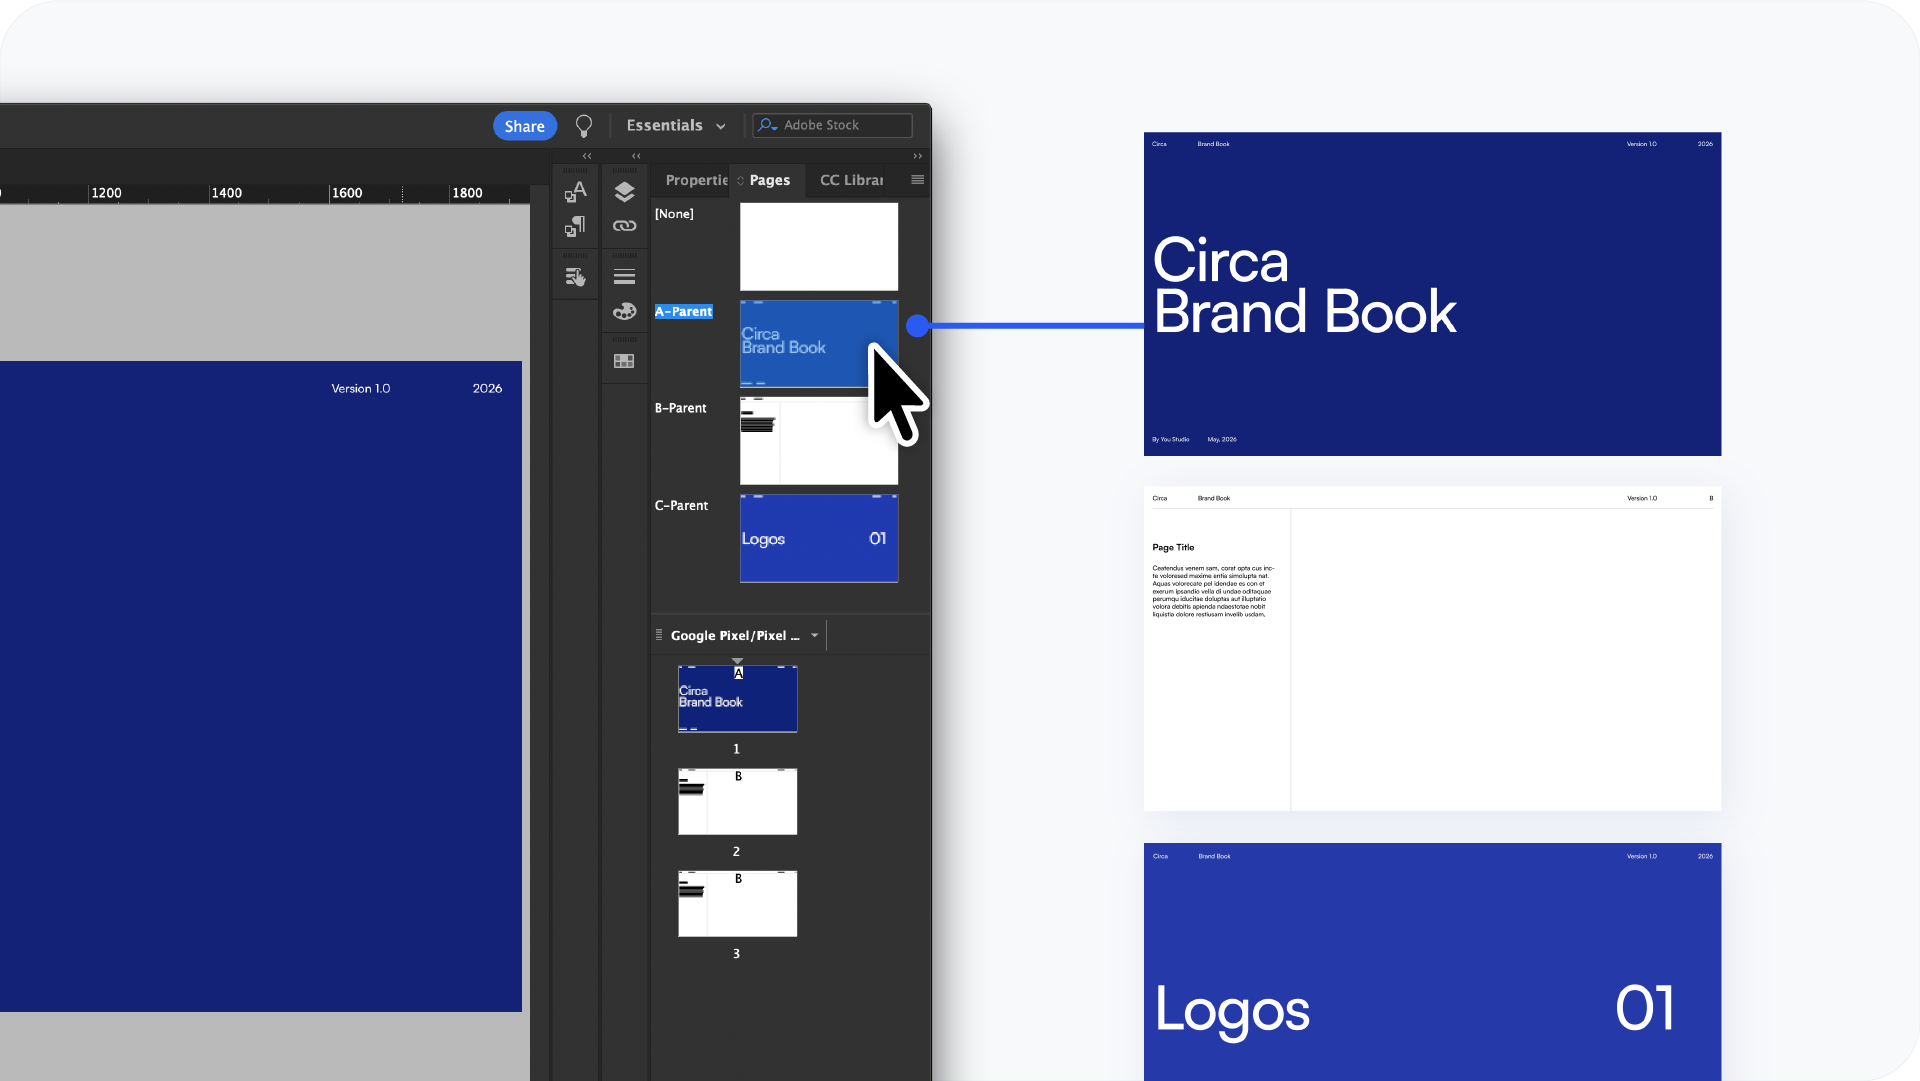
Master pages control the elements that repeat across every page: the grid, page numbers, headers, and any recurring design elements. Setting these up before you start designing saves a significant amount of time.
Go to Window > Pages to open the Pages panel. Double-click the A-Master at the top of the panel to open it.
On the master page, set up:
- A baseline grid for text alignment (go to InDesign > Preferences > Grids and set the baseline grid to match your body text leading)
- A header area at the top: brand name, section label, or a horizontal rule
- A footer area at the bottom with the page number placeholder (go to Type > Insert Special Character > Markers > Current Page Number)
Any element you place on the master will appear on every page that uses it. Create a second master (B-Master) for section opener pages if those use a different layout.
Step 3: Set up paragraph styles
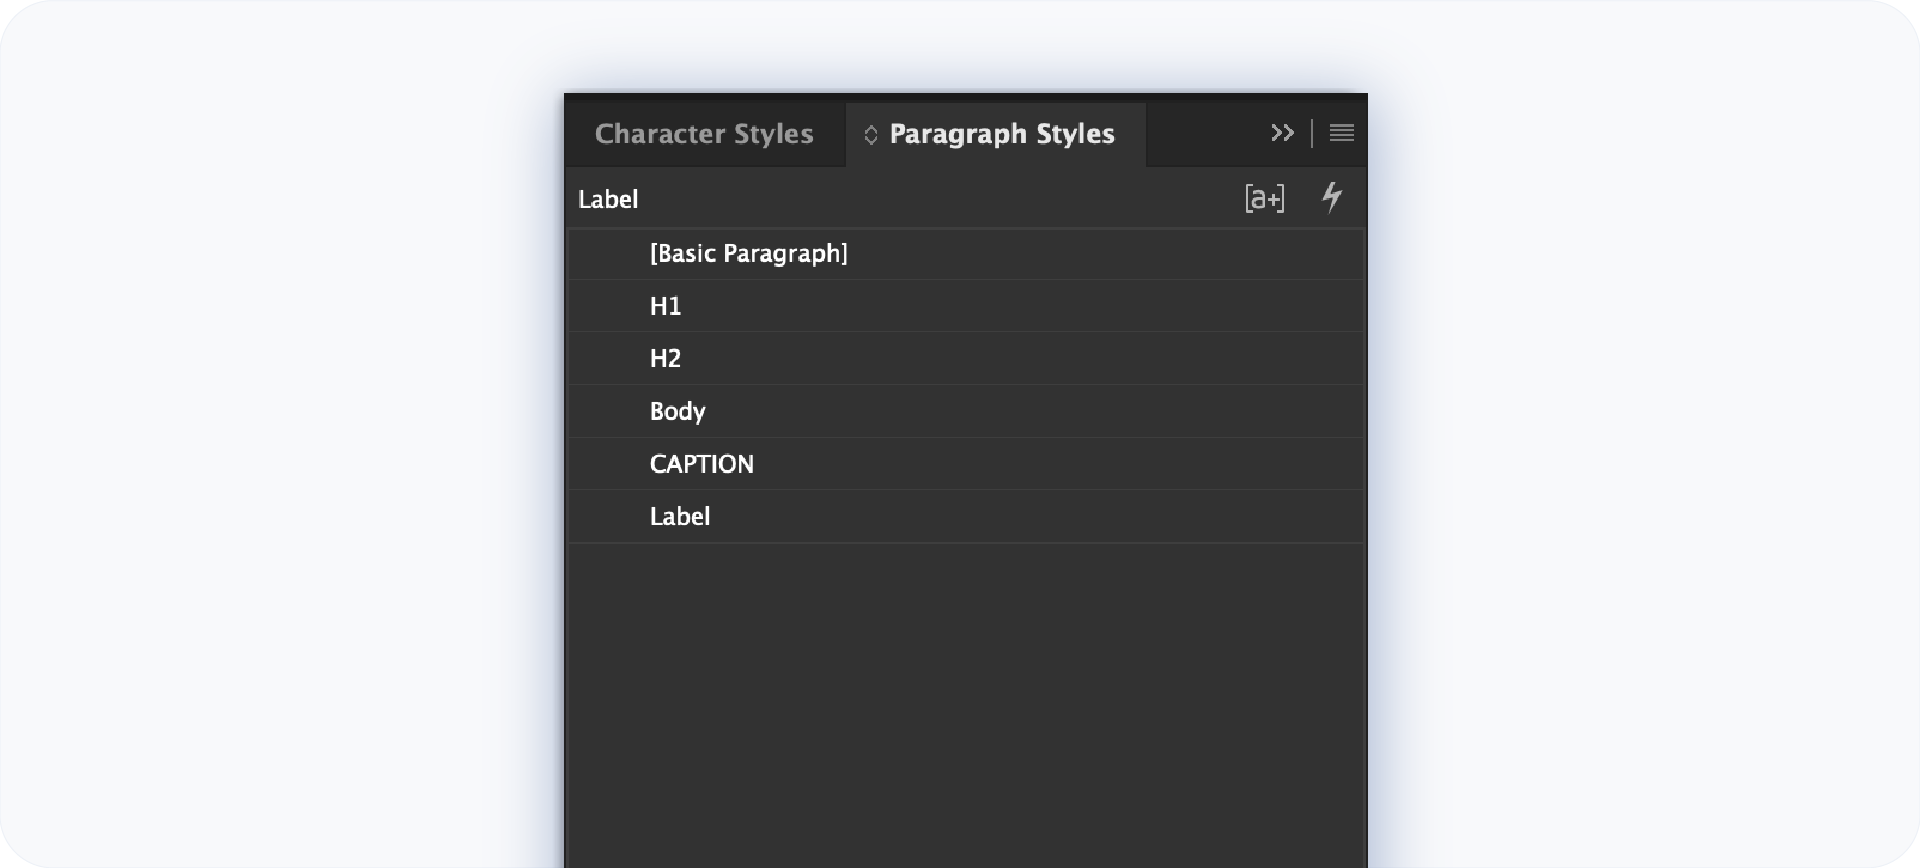
Paragraph styles keep your typography consistent across the entire document. Every heading, subheading, body copy, and label should have its own style.
Go to Window > Styles > Paragraph Styles and create styles for:
- H1: the brand name or major section title
- H2: section headings
- Body: all running copy
- Caption: labels under colour swatches, logo examples, and images
- Label: small uppercase text used for section identifiers
Define the font, size, leading, tracking, and colour for each style. When you apply a style, every instance updates globally the moment you change the style. This is essential in a document with 20 or more pages.
Step 4: Set up your colour swatches
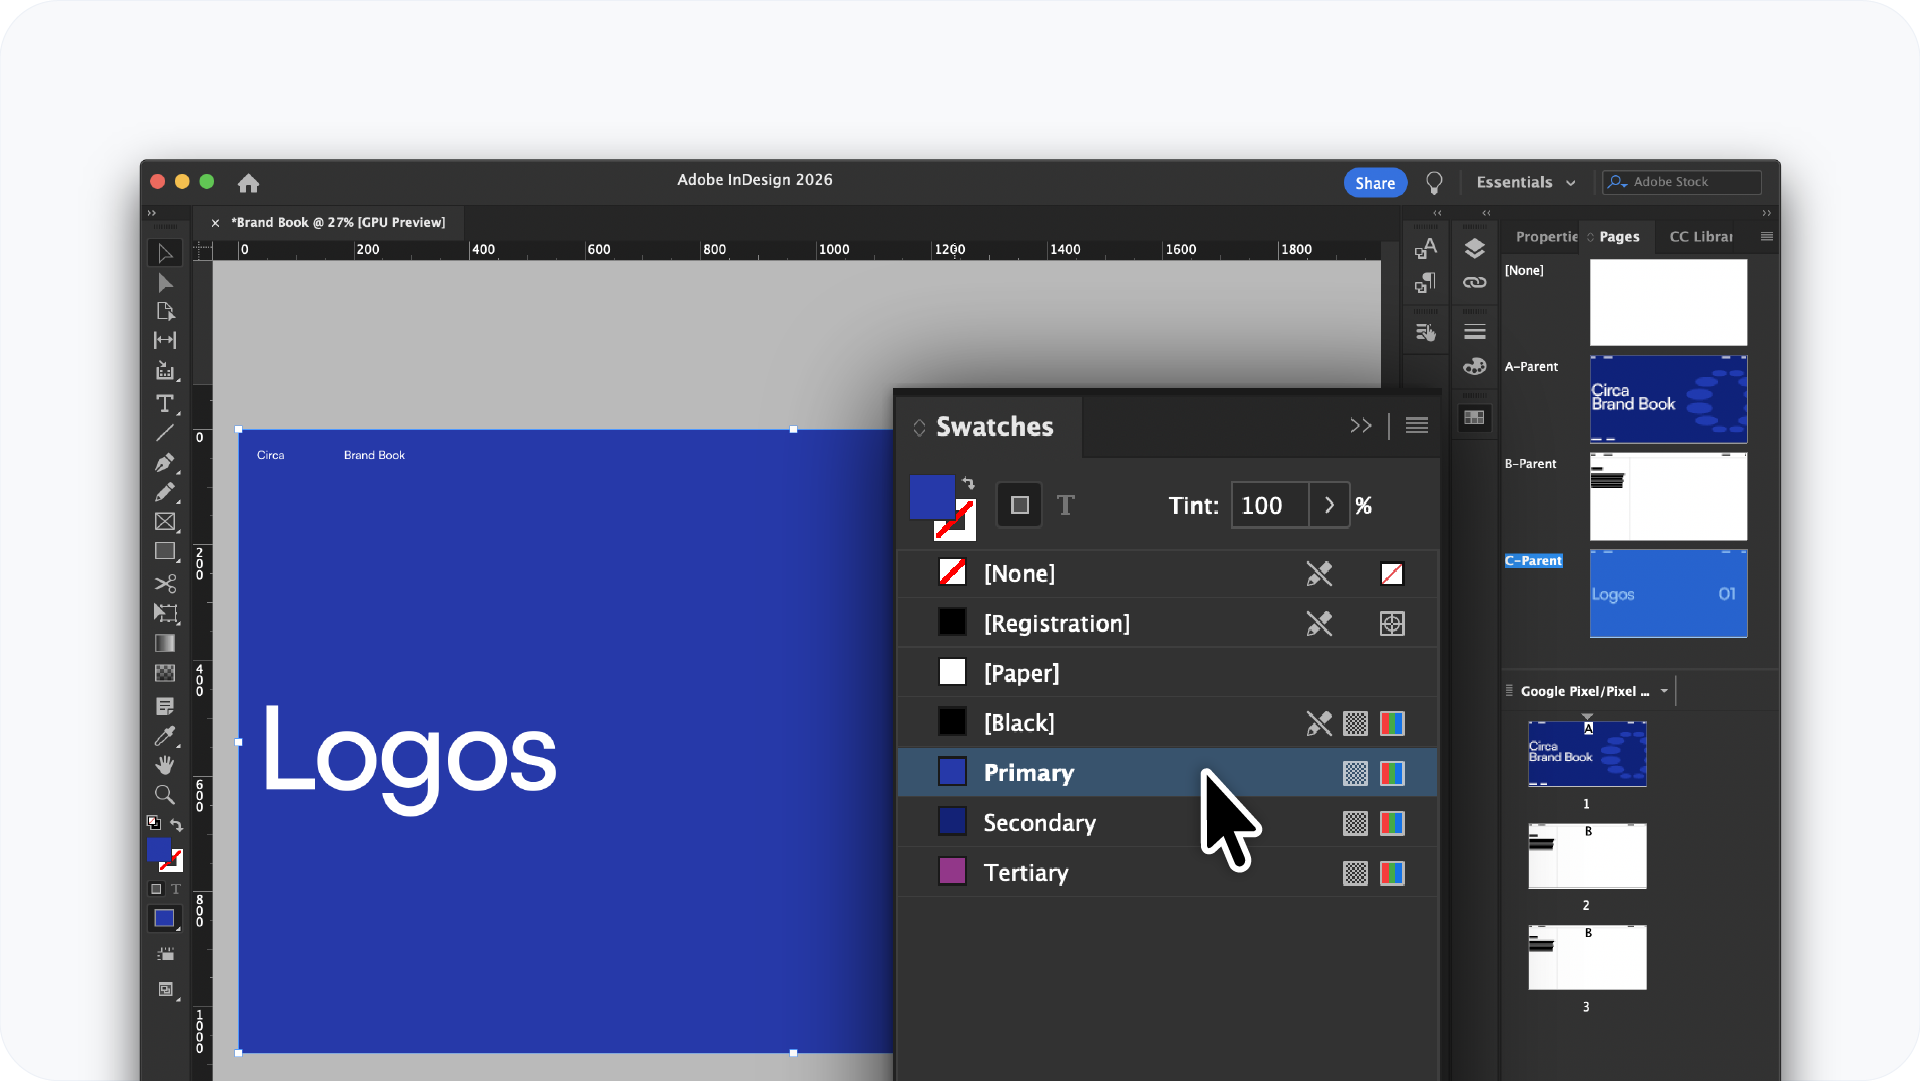
Go to Window > Color > Swatches. Add the brand's colours as named swatches with both RGB and CMYK values.
Name each swatch clearly: Primary Blue, Secondary Cream, Accent Red. This makes it easy to apply colours consistently and update them globally if the brand colours change.
For print-accurate colours, add Pantone swatches through Window > Color > Swatches > New Color Swatch and set the colour mode to Pantone.
Step 5: Build the sections
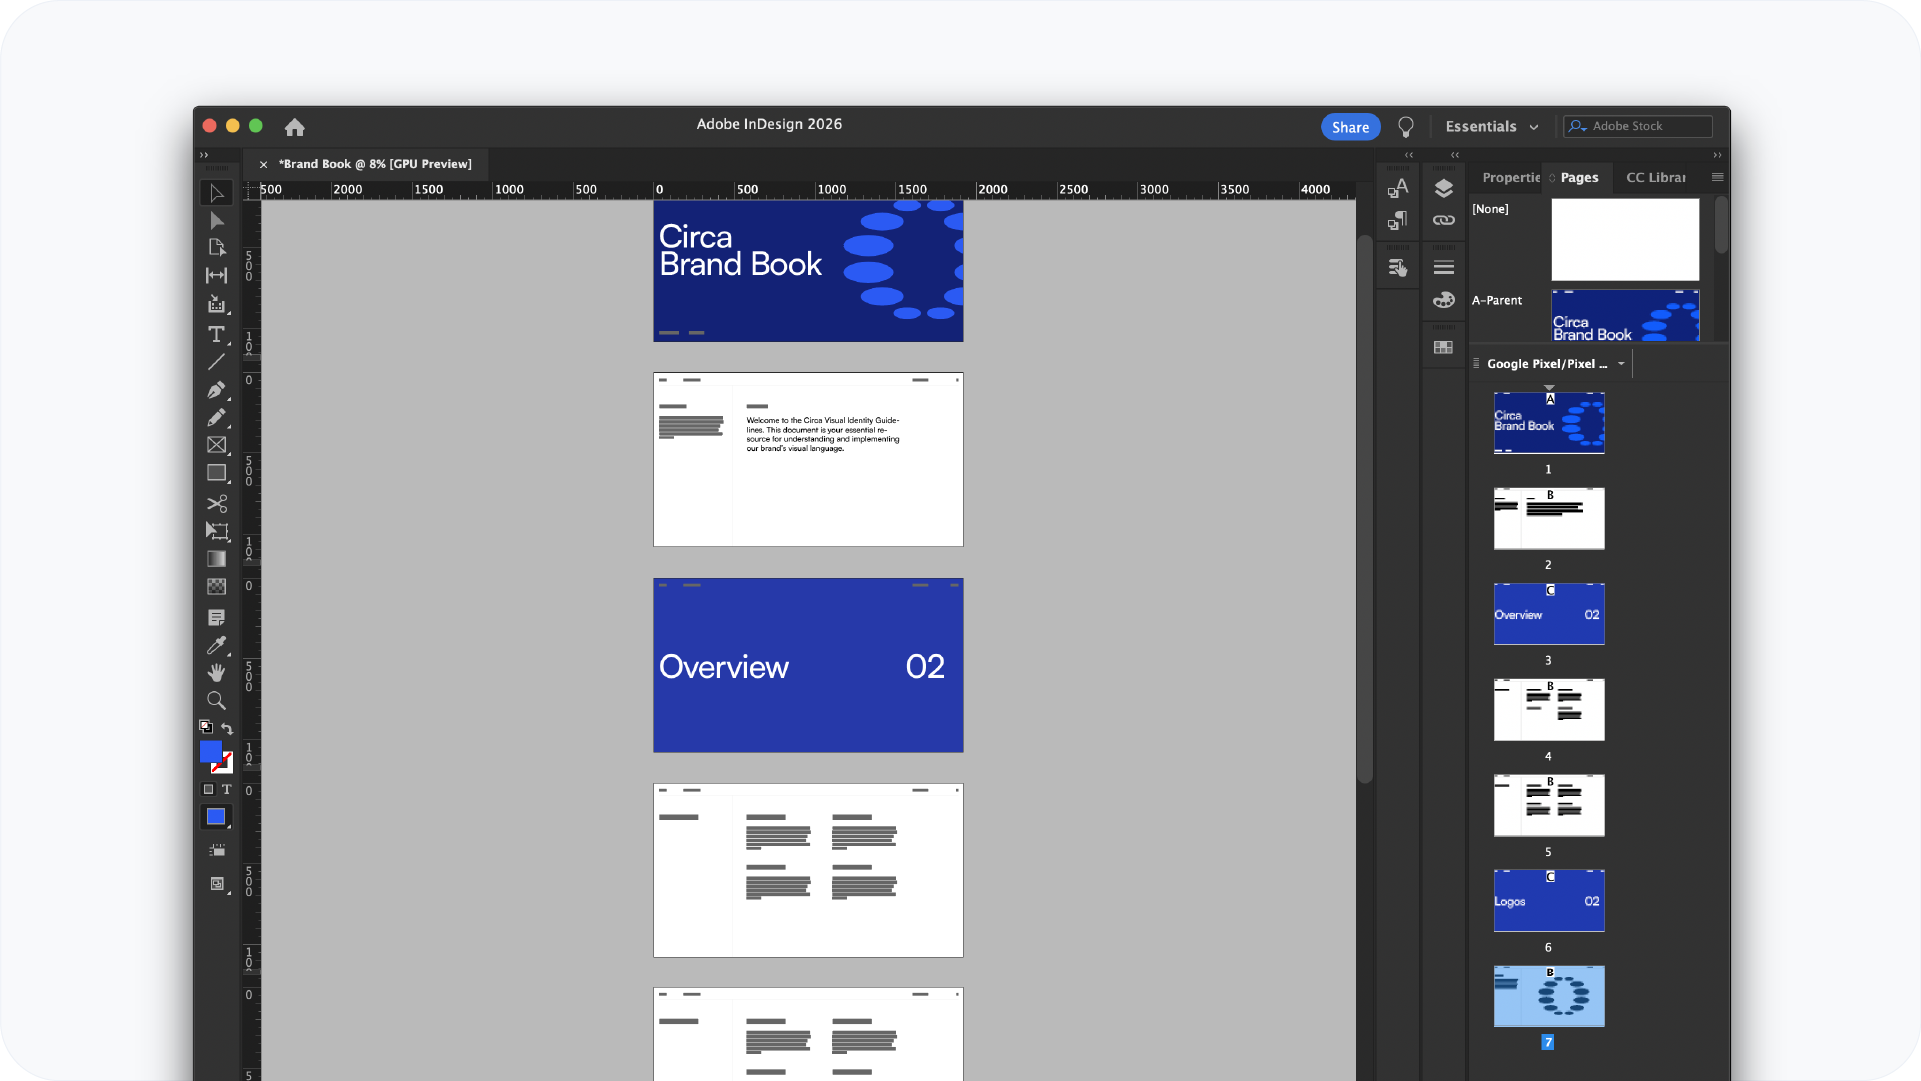
A brand book is made up of several core sections. Build each one as a separate group of pages within the same InDesign file.
Standard brand book sections:
- Cover: brand name, year, and a strong visual
- Introduction: brand story or positioning statement, brief
- Logo: all variations, clear space rules, minimum sizes, do and don't examples
- Colour: full palette with HEX, RGB, CMYK, and Pantone values
- Typography: primary and secondary typefaces, hierarchy, size examples
- Imagery: photography style, illustration guidelines, mood reference
- Applications: logo and identity shown in real-world context: business cards, signage, website, social media
Use the Pages panel to organise pages into sections. You can label each section by right-clicking a page and selecting Numbering and Section Options.
Related Reading: For the complete list of what goes inside each section, read what should a brand book include.
Step 6: Place your assets
Use File > Place (Cmd+D on Mac, Ctrl+D on Windows) to bring logo files, photography, and illustrations into the document.
Always place vector logo files as native AI or PDF files rather than PNG or JPG. Vector files stay sharp at any size inside InDesign and export cleanly to PDF without any resolution issues.
For photography, make sure all images are at least 300 PPI at the size they appear in the document. Low-resolution images will look sharp on screen in InDesign but will print soft.
Keep all linked files in a single folder alongside the InDesign file. If you move assets after placing them, InDesign will show a missing link warning.
Step 7: Export as PDF
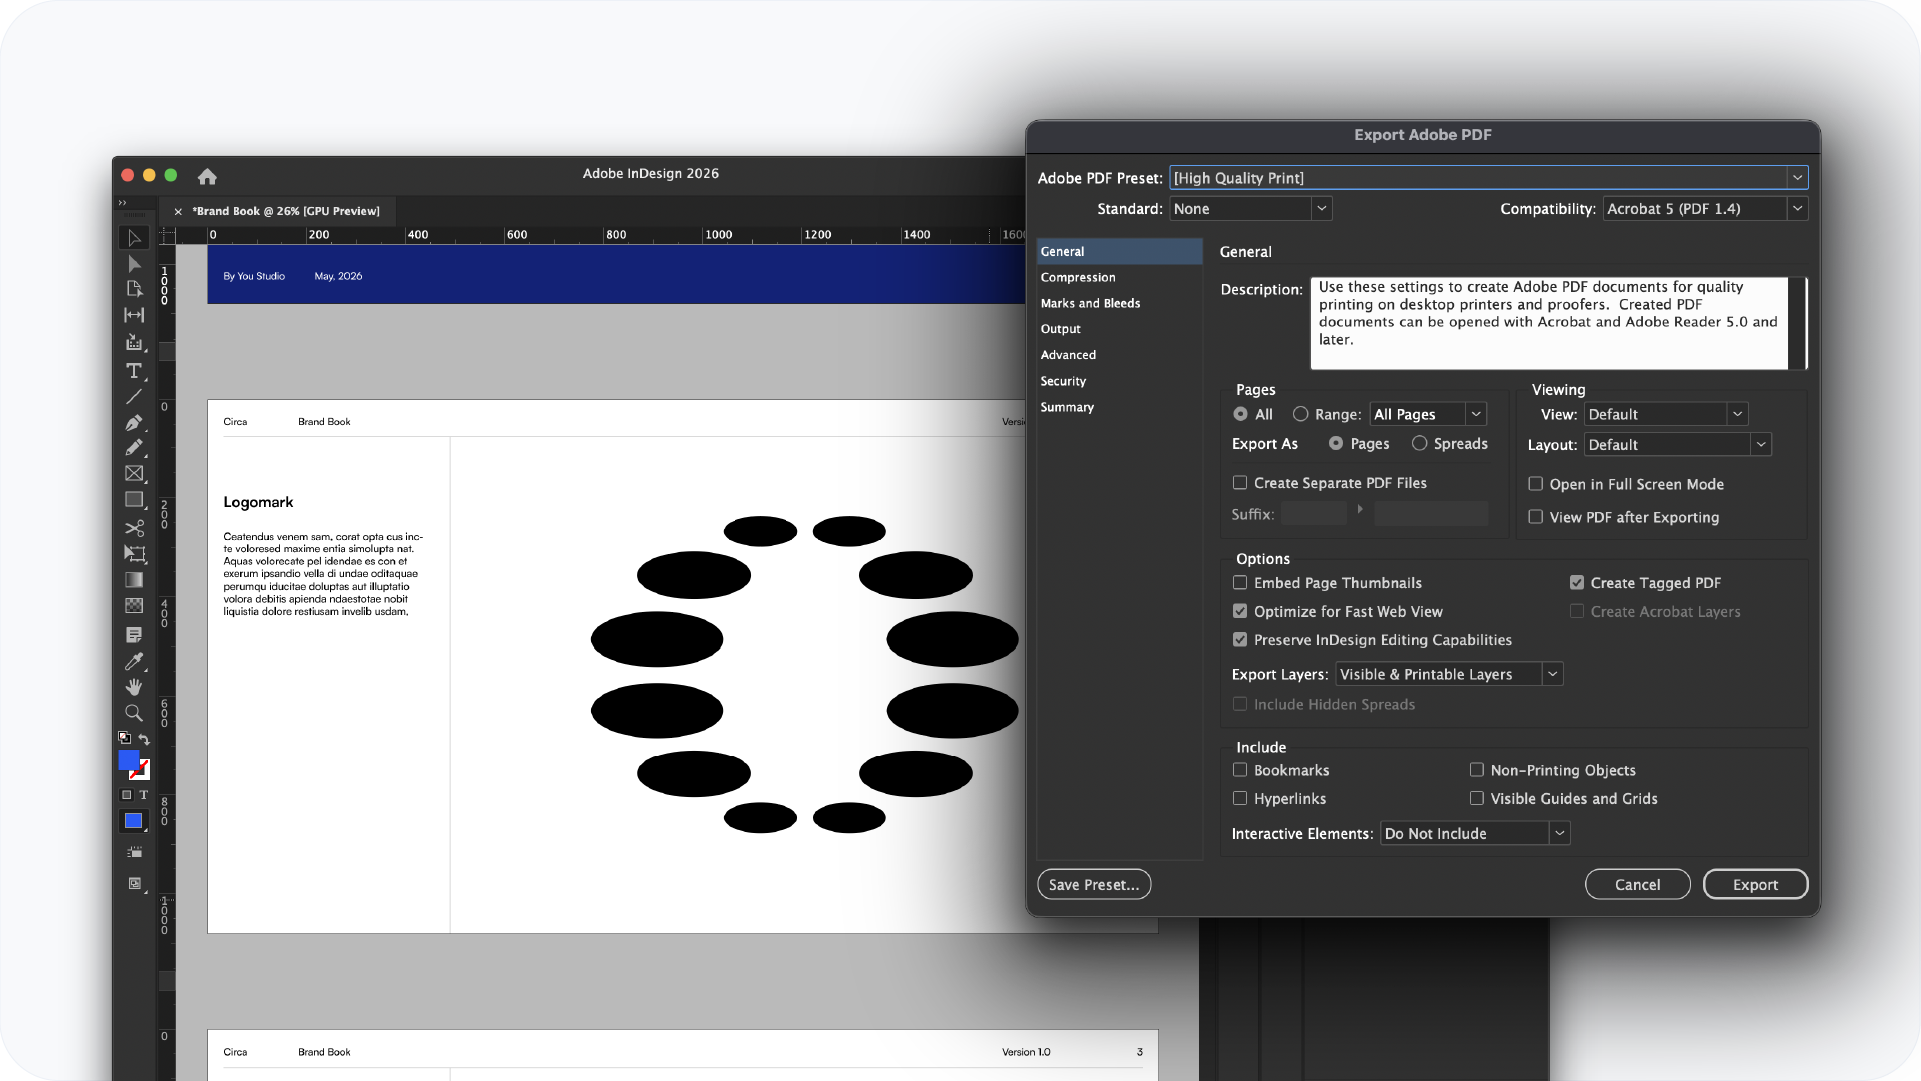
When the document is complete, go to File > Export and select Adobe PDF (Print) from the format dropdown.
Use these export settings:
- Preset: PDF/X-1a for standard print, or High Quality Print for digital delivery
- Pages: All pages, not spreads
- Include Bleed: Check Use Document Bleed Settings
- Compress: Leave compression off to avoid quality loss
For digital delivery, export a second version using the Smallest File Size preset. This produces a compressed PDF that is faster to open and easier to share via email or a Google Drive link.
Skip the manual setup with a template
Building a brand book from scratch in InDesign takes time. The master pages, paragraph styles, colour swatches, and section structure all need to be set up before you can start designing.
The brand book templates at Brandbooks are pre-built in Adobe Illustrator with the layout, styles, and structure already in place. Download a template, replace the content with the client's brand assets, and export. The setup work is already done.
Browse the brand book template collection and pick a style that fits the project.
Conclusion
InDesign gives you full control over a brand book layout. Set up the document, master pages, paragraph styles, and colour swatches before you start designing, and the rest of the build is straightforward. Export as PDF/X-1a for print and a compressed version for digital delivery.